
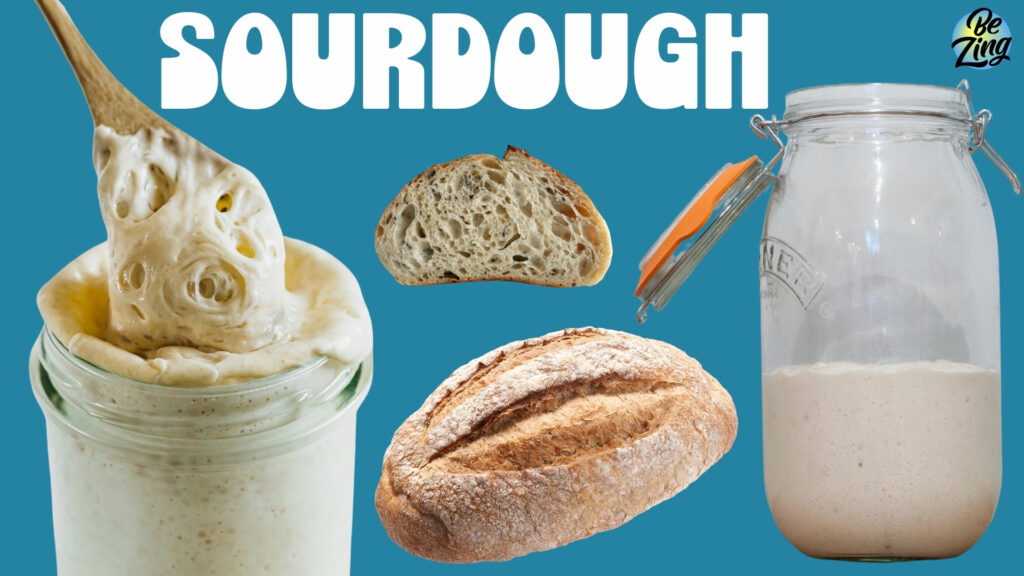
What is a Sourdough Starter?
A sourdough starter is essentially a homemade yeast culture. It is a mixture of flour and water that captures and nurtures wild yeast and beneficial bacteria from the environment. This natural leavening agent is used to make sourdough bread and other baked goods.
How Does It Work?
Yeast and Bacteria in the Air:
- Wild yeast and bacteria are naturally present in the air and on flour.
- When you mix flour and water, the environment becomes suitable for these microorganisms to thrive.
Fermentation Process:
- Over several days, the wild yeast and bacteria begin to ferment the sugars in the flour.
- This fermentation process produces carbon dioxide gas, which creates bubbles and causes the mixture to rise.
Working Together:
The helpful bacteria, mainly lactic acid bacteria, live alongside the wild yeast. These bacteria make lactic acid and acetic acid, which give sourdough its distinct tangy taste. The acids also help keep the bread fresh and improve its texture.
Feeding the Starter:
To keep the starter alive and active, it needs regular “feedings” of fresh flour and water. These feedings provide new sugars for the yeast and bacteria to eat, making sure the starter stays healthy and ready for baking.
Natural Rising:
Unlike shop-bought yeast, which is just one type called Saccharomyces cerevisiae, a sourdough starter has many different microorganisms. This variety helps give sourdough bread its unique flavours and textures.
Why Does It Work?
Capturing Wild Yeast:
- The flour and water mixture acts as a medium to capture and cultivate wild yeast and bacteria from the environment.
- These microorganisms naturally occur on the surface of grains and in the air around us.
Creating the Right Environment:
- The process of regular feeding and maintaining the starter at a warm temperature creates an optimal environment for fermentation.
- The wild yeast and bacteria multiply, outcompeting any harmful microorganisms.
Producing Gas and Acids:
- As the yeast ferments the carbohydrates in the flour, it produces carbon dioxide gas, which makes the dough rise.
- The bacteria produce acids that add flavour and help preserve the bread.
Long-Term Use:
- A well-maintained sourdough starter can last indefinitely, providing a continuous supply of natural yeast for baking.
- With regular care and feeding, the starter remains active and ready to leaven bread and other baked goods.
In short, a sourdough starter is a natural, homemade yeast. It uses wild yeast and good bacteria to ferment dough, making sourdough bread taste unique, with a special texture and rise.
How to make a Sourdough Starter
Making a sourdough starter from scratch typically takes about 5 to 7 days. Here’s a step-by-step guide to create your own sourdough starter:
Day 1:
Ingredients:
- 60g (1/2 cup) whole wheat or rye flour
- 60g (1/4 cup) water (room temperature)
Instructions:
- In a clean glass jar, combine the flour and water.
- Mix well until no dry flour remains.
- Cover the jar loosely with a lid or cloth.
- Let it sit at room temperature (around 20-22°C or 68-72°F) for 24 hours.
Day 2:
Ingredients:
- 60g (1/2 cup) whole wheat or rye flour
- 60g (1/4 cup) water
Instructions:
- Discard half of the starter mixture from Day 1.
- Add the flour and water to the remaining mixture.
- Mix thoroughly and cover loosely.
- Let it sit at room temperature for another 24 hours.
Day 3 to Day 7:
Ingredients:
- 60g (1/2 cup) all-purpose or bread flour (you can switch to white flour now)
- 60g (1/4 cup) water
Instructions:
- Each day, discard half of the starter mixture.
- Add the flour and water to the remaining mixture.
- Mix well, cover loosely, and let it sit at room temperature for 24 hours.
Signs of Progress:
- By Day 3 or 4, you should start to see bubbles forming, and the mixture should have a slightly tangy smell.
- By Day 5 to 7, the starter should be bubbly, active, and have a pleasant sour aroma.
Testing Your Starter:
By Day 7, your starter should be ready to use. To test its readiness, perform the float test:
- Take a small spoonful of the starter and drop it into a glass of water.
- If it floats, your starter is ready to use for baking.
- If it sinks, continue the feeding process for a few more days until it passes the float test.
Maintenance:
Once your starter is established, you can maintain it by storing it in the refrigerator and feeding it once a week. To feed:
- Discard half of the starter. *Why not put this into a jar and give to a friend or family member
- Add equal parts flour and water (e.g., 60g each).
- Mix well and return it to the refrigerator.
Your sourdough starter is now ready to use in various recipes, and with regular feeding, it will continue to thrive and develop its unique flavor. Remember each time you use it for breadmaking, you will need to top it up with more flour and water.
Simple Sourdough Bread Recipe – Feeds 6 – 8
Ingredients:
- 185g sourdough starter (Half your sourdough mix)
- 700g strong white bread flour
- 530ml water (room temperature)
- 10g salt
Equipment:
- Mixing bowl
- Wooden spoon
- Clean tea towel
- Baking parchment
- Baking tray
Instructions:
- Mix the Dough:
- In a large mixing bowl, combine 185g sourdough starter and 200g (mls) warm water. Mix well until completely smooth.
- In another bowl add 700g strong bread flour and 330g warm water mix to combine, then add the sourdough starter and the salt, mix well in a food mixer until all the ingredients are combined into a rough dough. This can be done by hand (knead) but it will take longer.
- Rest the Dough:
- Cover the bowl with a clean tea towel and let it rest for an hour to rise.
- Shape the Dough:
- Once the dough has doubled in size, turn it out onto a lightly floured surface.
- Gently shape it into a ball by folding the edges into the center. You will need to do this quickly as its sticky. Keep turning and pulling in the edges and refolding until it becomes denser.
- Place the dough seam-side down onto a piece of baking parchment on a baking tray, or alternatively a tea towel lined bannetone..
- Second Rise (Proofing):
- Cover the dough with the tea towel and let it rise overnight, or if made in the morning, leave it for the day.
- Top up your sourdough jar with more flour and water and leave it out at room temperature to let it work its magic, ready for your next loaf!
- Preheat the Oven:
- Preheat your oven to highest temperature 250-275°C . Place a bowl of water at the base of your oven which will add steam when your bread cooks.
- Bake the Bread:
- If not already done, turn your bread out onto a baking tray lined with parchment, make some deep cuts across the top with a sharp knife to release any air pockets. Place the baking tray with the dough into the preheated oven.
- Bake for 18-20 minutes on the top shelf, then turn the temperature down to 200°C, turn the bread around, and bake for a further 18-20 minutesor until the bread is golden brown and sounds hollow when tapped on the bottom.
- Cool the Bread:
- Remove the bread from the oven and place it on a wire rack to cool completely before slicing – Enjoy.